How to Lay a Paver Walkway That Stays Level
Install a 3-foot-wide paver walkway on a compacted gravel and sand base, with edging, proper drainage, and tips to prevent settling.
Difficulty
intermediateTime
2–3 days
Est. cost
$200–$400
Tools you'll need
- Shovel
- Garden rake
- Tamper (hand or plate compactor) — our review
- Rubber mallet
- 4-foot level
- Tape measure
- String line and stakes
- Straight 2x4 (for screeding)
- Cutting tool (angle grinder with diamond blade or paver splitter) — our review
Materials
- Approximately 180 concrete pavers (12x12 inches each for a 3x20-ft walkway)
- Crushed gravel base (about 1 ton for a 4-inch base, depending on depth and width)
- Coarse concrete sand (about half a ton for a 1-inch bedding layer)
- Polymeric sand (sealer/ joint filler)
- Paver edging (plastic or metal) with spikes
- Landscape fabric (optional but recommended)
- Hose for watering (to activate polymeric sand)
Step-by-step
- 1
Plan and mark the walkway
Determine the path of your walkway, keeping it at least 3 feet wide for comfortable two-person passage. Use a garden hose or spray paint to outline the shape. Then drive stakes at each turn and run a string line to mark the edges. Ensure a consistent width (e.g., 3 feet) by measuring between the strings every few feet. Check for any underground utilities by calling 811 before digging.
- 2
Excavate the base
Dig out the soil inside your marked area to a depth of 8–10 inches. This accounts for 4 inches of gravel base, 1 inch of sand bedding, and the 2-inch paver thickness, plus a little extra for settlement. Slope the excavation away from structures at a rate of 1/4 inch per foot for drainage. Use a shovel and rake to achieve a flat bottom, checking with a level and straightedge. Compact the soil with a tamper or plate compactor.
- 3
Install landscape fabric and gravel base
If using landscape fabric, lay it over the compacted soil to prevent weed growth and mixing of base materials. Pour crushed gravel into the excavation, spreading it to a uniform 4-inch depth. Dampen the gravel slightly and compact it thoroughly with a tamper or plate compactor. Make sure the surface remains level and at the correct slope. The compacted gravel should be about 4 inches below the finished walkway height.
- 4
Install paver edging
Place paver edging along both sides of the excavated area, using stakes to secure it. The edging should be flush with the final paver height. Edging prevents the pavers from shifting outward over time. Ensure the edging follows the string line and maintains the desired width. For curves, use flexible plastic edging that can bend.
- 5
Add and screed the sand bedding
Pour coarse concrete sand over the compacted gravel, spreading it to about 1.5 inches deep—this will compact to 1 inch. Use a straight 2x4 with a notch cut out to ride along the edging, screeeding the sand to a consistent depth. Do not compact the sand; keep it loose so pavers can be leveled. Work in small sections to avoid disturbing the screeded surface.
- 6
Lay the pavers
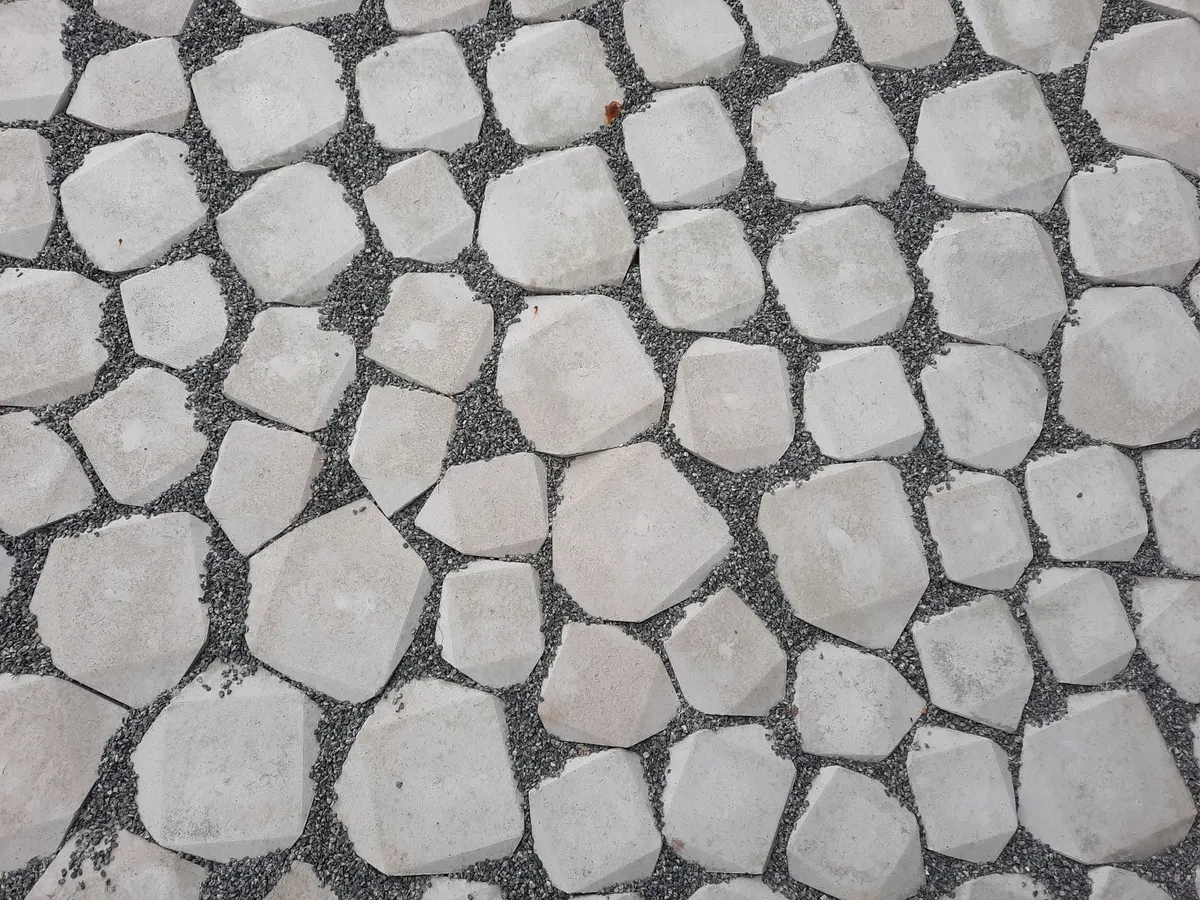
Start at one end of the walkway, placing pavers firmly onto the sand bedding in your chosen pattern (e.g., running bond or herringbone). Press each paver into the sand and tap it with a rubber mallet to seat it. Use a level to check that pavers are flat and aligned. Maintain consistent 1/8-inch to 1/4-inch gaps between pavers. For cuts at the edges, mark the paver and cut with an angle grinder fitted with a diamond blade, or use a paver splitter. Wear eye and ear protection when cutting.
- 7
Fill joints with polymeric sand
Once all pavers are laid, sweep polymeric sand over the surface, filling the joints completely. Use a broom to push sand into the gaps, then lightly compact the pavers with a tamper or plate compactor to settle the sand. Sweep away excess sand. Mist the walkway with water according to the polymeric sand manufacturer’s instructions to activate the binder. Avoid oversaturating. Allow the joints to cure for 24–48 hours before heavy use.
- 8
Compact and finish
After the polymeric sand has set, do a final compact pass with a plate compactor (if available) to ensure all pavers are fully settled. Check again for level and adjust any high or low pavers by tapping them with a rubber mallet or lifting and adding/removing sand. Re-sweep more polymeric sand into any joints that settled, and mist again if needed. Finally, backfill along the edges with soil or gravel to blend with the landscape.
Planning Your Paver Walkway
A well-laid paver walkway enhances curb appeal and provides a durable, level path for years. Unlike poured concrete, pavers allow individual replacement if a crack or stain occurs. This guide covers the installation of a straight 3-foot-wide, 20-foot-long walkway, but the principles apply to longer or curved paths.
Start by marking the route with stakes and string. Consider natural traffic lines and any transitions to driveways or patios. A width of 3 feet is comfortable for two people to walk side by side; narrower paths may feel cramped. The walkway should slope away from the house at 1/4 inch per foot to prevent water pooling near the foundation.
Choosing Materials
Pavers: Concrete pavers are cost-effective and available in many shapes and colors. Standard 12×12-inch squares interlock well; for this walkway you will need roughly 180 pavers (allow for cuts and waste). Permeable pavers are an eco-friendly option if local codes require stormwater management.
Base materials: Crushed gravel (angular, no larger than 3/4 inch) provides drainage and load-bearing support. Coarse concrete sand (not play sand) is used for the bedding layer—it compacts firmly, unlike fine sand. Polymeric sand locks the joints; it hardens when wet, keeping joints full and preventing weed growth.
Laying a Level Base
The foundation is everything. Excavate 8–10 inches deep to accommodate base, sand, and paver thickness. For a 3×20-ft walkway with a 4-inch gravel base, you need about 1.5 cubic yards of gravel (roughly 1.2 tons). Spread and compact the gravel in two 2-inch lifts using a plate compactor or hand tamper. Check the slope frequently with a 4-foot level and straightedge.
After the gravel is compacted, install the edging. Rigid plastic or metal edging keeps pavers from spreading. Drive spikes through the edging into the gravel. The top of the edging should be about 1.5 inches below the final paver surface to accommodate the sand bedding and paver thickness.
Screeding the sand evenly is a skill. Use a straight 2×4 with notches cut to ride along the edging, or use two pieces of pipe as guides. Spread sand to about 1.5 inches—compression from screeding and paver seating will bring it to 1 inch. Work in sections about 3 feet wide so you don't mess up the screeded sand.
Laying Pavers Correctly
Align the first row meticulously; all subsequent rows follow. Use a rubber mallet to tap each paver level. Check alignment with a string line and adjust as needed. Keep consistent gaps of about 1/8 inch. For curves or edges, measure and cut pavers with an angle grinder; mark the cut line with a pencil or chalk, score deeply along the line, and snap the paver over a straight edge. Always wear safety glasses and hearing protection when cutting.
After all pavers are laid, compact them with a plate compactor to settle them into the sand. This step also reveals any high or low pavers—adjust by tapping with a mallet or adding/removing sand under the paver.
Joint Filling and Sealing
Sweep polymeric sand across the surface, forcing it into joints with a broom. Avoid getting sand on top of pavers. Use a plate compactor again to vibrate sand deeper into joints; then re-sweep more sand if needed. Mist with water (using a spray nozzle) until the sand is damp but not saturated. Excess water can wash sand out. Let cure 24–48 hours.
Mistakes to Avoid
- Inadequate excavation: Skimping on depth leads to settling and uneven pavers.
- Skipping the slope: Flat walkways pool water, causing freeze-thaw damage and slippery surfaces.
- Using the wrong sand: Fine sand (like play sand) does not compact well and can wash out; use coarse concrete sand.
- Not compacting in layers: One thick lift of gravel compacts poorly; split into two lifts for proper compaction.
- Omitting edge restraints: Without edging, pavers will shift, especially on curves.
- Walking on polymeric sand before it cures: It needs 24–48 hours to set; foot traffic can disrupt the joints.
Safety
- Call 811 before digging to locate underground utilities.
- Wear heavy-duty work gloves when handling pavers and gravel to prevent cuts and blisters.
- Use eye protection and hearing protection when cutting pavers with an angle grinder.
- Lift with your legs, not your back—pavers weigh about 10–15 lbs each, and moving many can strain muscles.
- When using a plate compactor, follow manufacturer’s safety guidelines; keep hands and feet clear of the compacting plate.
- Keep children and pets away from the work area during excavation and construction.
Maintenance
Once installed, paver walkways require little upkeep. Reapply polymeric sand if joints erode over time. Use a pressure washer (set to low pressure) to clean pavers without dislodging sand. Weed growth can occur if joint sand degrades; spot-treat with herbicide or dig out and refill joints. In cold climates, avoid using deicing salts—they can damage concrete pavers; use sand instead.
With careful base prep and patient installation, your paver walkway will remain level and attractive for decades. The investment in time upfront pays off in a permanent, low-maintenance path that enhances your property.
Advertisement
Frequently asked questions
- How do I prevent pavers from sinking or becoming uneven?
- Proper base preparation is key. Excavate to a depth that allows for a compacted 4-inch gravel base and 1-inch sand layer. Compact the gravel in layers, ensuring it is well-drained and stable. Edge restraints prevent lateral movement. Using polymeric sand in the joints locks pavers together and reduces shifting.
- What is the best paver pattern for a walkway?
- A running bond (staggered brick pattern) is popular and easy to install, but herringbone offers greater stability for heavier traffic. Both work well; choose based on aesthetic preference. Avoid complex patterns that require many cuts for a straight path.
- How much slope does the walkway need for drainage?
- A slope of 1/4 inch per foot (2% grade) is ideal. This provides enough drainage to prevent standing water while remaining unnoticeable to pedestrians. Always slope away from buildings to direct water away from foundations.
- Can I lay pavers directly on dirt or sand without a gravel base?
- No. A gravel base is essential for stability and drainage. Without it, pavers will sink, shift, and become uneven, especially in freeze-thaw climates. The gravel base distributes loads and prevents frost heave. A properly prepared base is the most important part of the project.
- How do I cut pavers for edges?
- Use an angle grinder with a diamond masonry blade or a guillotine-style paver splitter. Score the paver along the cut line, then snap it. For curved cuts, make several shallow score lines. Always wear safety glasses, gloves, and hearing protection when cutting.