How to Repair Cracks in Driveways and Garage Floors
Permanently repair hairline to 1/2-inch cracks in concrete driveways and garage floors with vinyl-reinforced patching compound, from prep to cure.
Difficulty
intermediateTime
3–5 hours (spread over two days)
Est. cost
$30–$70
Tools you'll need
- Angle grinder with diamond wheel — our review
- Shop vacuum with crevice tool — our review
- Cold chisel and hammer (or masonry chisel)
- Wire brush
- Putty knife (2–3 inch)
- Bucket and mixing paddle (or trowel)
Materials
- Vinyl-reinforced concrete patching compound (e.g., Quikrete Vinyl Concrete Patcher)
- Concrete bonding adhesive (or liquid latex additive)
- Plywood or stiff cardboard for mixing surface
- Water (for mixing and dampening cracks)
- Painter's tape and old cloths (for cleanup)
Step-by-step
- 1
Clean the crack thoroughly
Scrub the crack and surrounding concrete with a stiff wire brush to remove loose debris, dirt, and old caulking. Follow up with a shop vacuum to pull out all dust and small particles. If the crack is oily (common in garages), scrub with a degreaser or a concrete cleaner and rinse; let the area dry completely before proceeding.
- 2
Route the crack to create a mechanical lock
Use an angle grinder fitted with a diamond masonry blade to widen the crack to at least 1/4 inch and undercut the edges slightly so the crack is wider at the bottom than the top. This provides a mechanical lock for the patching compound. Cut about 1/2 inch deep for shallow cracks, going deeper if the concrete is cracked through. Wear a dust mask and eye protection—concrete dust is harmful to breathe.
- 3
Undercut the crack with a chisel
Set the cold chisel at a 45-degree angle inside the routed crack and tap with a hammer to create slight undercuts along the edges, ensuring the patch material will interlock with the concrete. Brush out dust and vacuum again. Dampen the crack with water (but not puddles) to prevent the concrete from sucking moisture out of the patching compound too quickly.
- 4
Apply bonding adhesive if needed
If your patching compound does not include a bonding agent (many do), brush a thin layer of concrete bonding adhesive (like Quikrete Bonding Adhesive) into the damp crack. This ensures the patch adheres to the old concrete. Let the adhesive become tacky per the manufacturer's instructions—usually 5–10 minutes.
- 5
Mix and apply the patching compound
Mix the vinyl concrete patcher in a bucket according to the package directions until it reaches a stiff, peanut-butter-like consistency. Force the compound into the crack with a putty knife, pressing firmly to fill all voids. Overfill slightly (about 1/8–1/4 inch above the surface) to allow for shrinkage. For large cracks, fill in thin layers and let each set for 30 minutes before adding the next. Smooth the surface level with the surrounding concrete using a trowel or putty knife, feathering the edges.
- 6
Finish the surface texture
While the patch is still soft (but not wet), match the surrounding concrete texture. For a smooth garage floor, use a steel trowel. For a broom-finished driveway, lightly drag a broom or stiff brush across the patch in the same direction as the existing texture. If desired, use a concrete edging tool to create a slight chamfer along crack edges to prevent future chipping.
- 7
Cure the patch properly
Cover the patch with plastic sheeting or apply a spray-on concrete curing compound to slow moisture evaporation. Keep the area damp for at least 3 days by lightly misting daily. Avoid walking or driving on the patch for 24 hours (for foot traffic) and 3–7 days (for vehicle traffic), depending on the compound used and temperature. Check the manufacturer's chart for specific cure times.
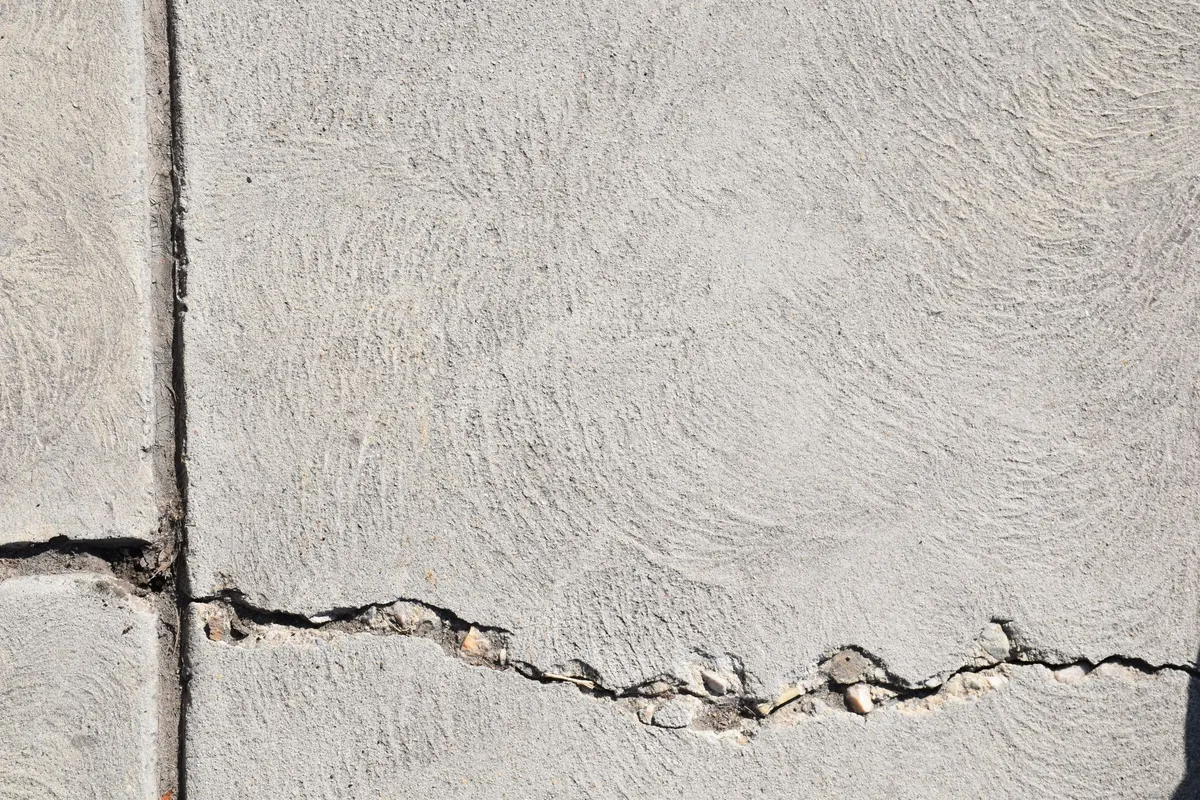
Why repair cracks in concrete?
Driveway and garage floor cracks are more than an eyesore. They allow water to seep under the slab, causing erosion, freeze-thaw heaving, and structural damage over time. Weed growth, pest entry, and trip hazards are additional problems. Repairing cracks promptly prevents them from widening and saves you from more expensive slab replacement or major resurfacing projects. A well-done repair with vinyl-reinforced patching compound restores the slab's appearance and waterproofs it for years.
Planning the repair
Assess each crack before you buy materials. Hairline cracks (under 1/8 inch wide) may need only a flexible caulk, but cracks wider than that benefit from routing and a rigid patch. For multiple cracks or large areas, consider buying a 50-pound bag of vinyl concrete patcher (covers about 50 linear feet of 1/2-inch-wide crack at 1/2-inch depth). A smaller tub is fine for a few cracks. Always purchase a bit more than you think you'll need—mixing errors happen and you may need a second batch. Also, buy a bonding adhesive separately unless your patching compound includes it.
Tools you'll need
You need an angle grinder with a diamond blade for routing cracks (a that screws onto an extension pole is an alternative for overhead but not needed here), a shop vacuum for dust removal, wire brush, cold chisel and hammer, putty knife, bucket, and mixing tool. A masonry chisel set speeds up undercutting. Safety gear is crucial: safety glasses, heavy-duty gloves, and a dust mask (N95 or better) for the grinding phase as concrete dust contains silica, which is a respiratory hazard.
Step-by-step method
The cleaning step is the most important—if the crack has dirt, oil, or old sealing material, the patch will not bond. Use a wire brush vigorously and follow with vacuum. For stubborn grime, use a concrete cleaner with a stiff brush and rinse completely before grinding. After routing and undercutting, vacuum thoroughly and dampen but don't soak. Roughening the edges improves adhesion. Then apply bonding agent if needed, then force the compound in with a putty knife. Overfill slightly and smooth. For a broom finish, drag a damp broom over the patch lengthwise. Cure with plastic sheeting and misting for at least 3 days.
Common mistakes to avoid
- Skipping the undercut: A V-shaped crack will allow the patch to pop out when water freezes and expands. Always undercut with a chisel to create a dovetail shape.
- Not cleaning deeply enough: Dust in the crack forms a barrier—vacuum and wire brush thoroughly just before applying the patch.
- Mixing too much at once: Vinyl concrete patch sets in 20–40 minutes. Mix only as much as you can apply in that time.
- Applying too thick: Apply in passes no more than 1/2 inch thick, waiting 30 minutes between layers. Thick patches can crack from shrinkage.
- Ignoring curing: Dry air causes the patch to lose moisture too fast, leading to shrinkage cracks and poor adhesion. Always cover and moist-cure.
- Using the wrong material: Caulk for wide cracks, standard mortar mix for cracks—use a vinyl-reinforced patching compound designed for concrete.
Safety
- Wear eye protection when chiseling and grinding—flying debris can blind you.
- Use a dust mask (N95) or half-face respirator to avoid inhaling silica-laden concrete dust.
- Wear heavy-duty work gloves when handling tools, especially the angle grinder, which can cause severe cuts if misused.
- Ensure the area is well-ventilated when using concrete cleaners or adhesives; follow product safety instructions.
- Keep children and pets away from the work area until the patch fully cures.
- If using power tools in wet conditions, use a GFCI-protected circuit to prevent electrical shock.
When to call a professional
If your driveway or garage floor has multiple large cracks, uneven settlement (one side lower than the other), or cracks that reappear after patching despite correct method, the underlying slab may have soil or structural problems. Professional mudjacking, underpinning, or slab replacement may be needed. A single crack you can handle easily.
Extending the life of your repair
Beyond the initial patching, consider sealing the entire driveway every 2–3 years with a quality concrete sealer to prevent moisture intrusion. Keep heavy, point loads (like car jacks or anvils) from concentrating stress on the repaired area for the first month. During winter, use plastic shovels instead of metal ones on the repair to avoid gouging. These simple habits ensure the patch lasts as long as the surrounding slab, keeping your driveway smooth and crack-free for the long haul.
Advertisement
Frequently asked questions
- Can I fill a crack with caulk instead of concrete patch?
- For hairline cracks (less than 1/8 inch), a high-quality polyurethane concrete caulk can work as a flexible sealant. However, for wider cracks or structural repairs, a rigid vinyl-reinforced patching compound is better—it bonds solidly and won't flex and debond. Caulk can soften under hot tires and may pick up debris. Use patch compounds for permanent repairs.
- My crack is deeper than 1/2 inch—what should I do?
- For cracks deeper than 1/2 inch, fill the bottom of the crack with clean, dry fine sand or gravel up to 1/2 inch below the surface. Tamp it down with a dowel, then apply the patching compound on top. Alternatively, use a two-part epoxy concrete repair system that can be poured deeper. Always read the patching compound's maximum depth specification—most vinyl patchers can be applied up to 1 inch thick when applied in thin layers.
- How long does the repair last before cracking again?
- A properly executed repair can last 5–10 years or more, provided the underlying slab is stable. If the crack is caused by ongoing soil movement (e.g., settling or heaving), it may reappear over time—in such cases, consider professional evaluation and underpinning. Using a flexible sealant for non-structural cracks and proper undercutting (mechanical lock) extends the life significantly.
- Can I do this repair in cold weather?
- Most patching compounds require temperatures above 50°F for cure. In cooler weather, use a special fast-setting cold-weather concrete patch (like Quikrete FastSet), and keep the area warm (cover with a heat lamp or blankets) for the first 24 hours. Freezing during the first week can ruin the bond, so avoid repairing when frost is expected.