How to Upgrade to Soft-Close Cabinet Hinges
Replace standard cabinet hinges with soft-close ones in a weekend. This guide covers hinge types, measuring, installation, and adjustments for a smooth, silent kitchen.
Difficulty
intermediateTime
3–5 hours
Est. cost
$40–$80
Tools you'll need
- Cordless drill driver — our review
- Screwdriver (Phillips #2)
- Measuring tape
- Pencil
- Level (4-foot or torpedo)
- Drill bit set (including 1/8-inch and 5/64-inch)
- Clamp or painter's tape (to hold door while marking)
Materials
- Soft-close cabinet hinges (quantity: one pair per door; check type—overlay or inset)
- Screws (usually included with hinges; #6 or #8, 5/8-inch to 3/4-inch length)
- Wood filler or putty (if filling old screw holes)
- Sandpaper (120- and 220-grit, if filling holes)
Step-by-step
- 1
Identify your hinge type and order replacements
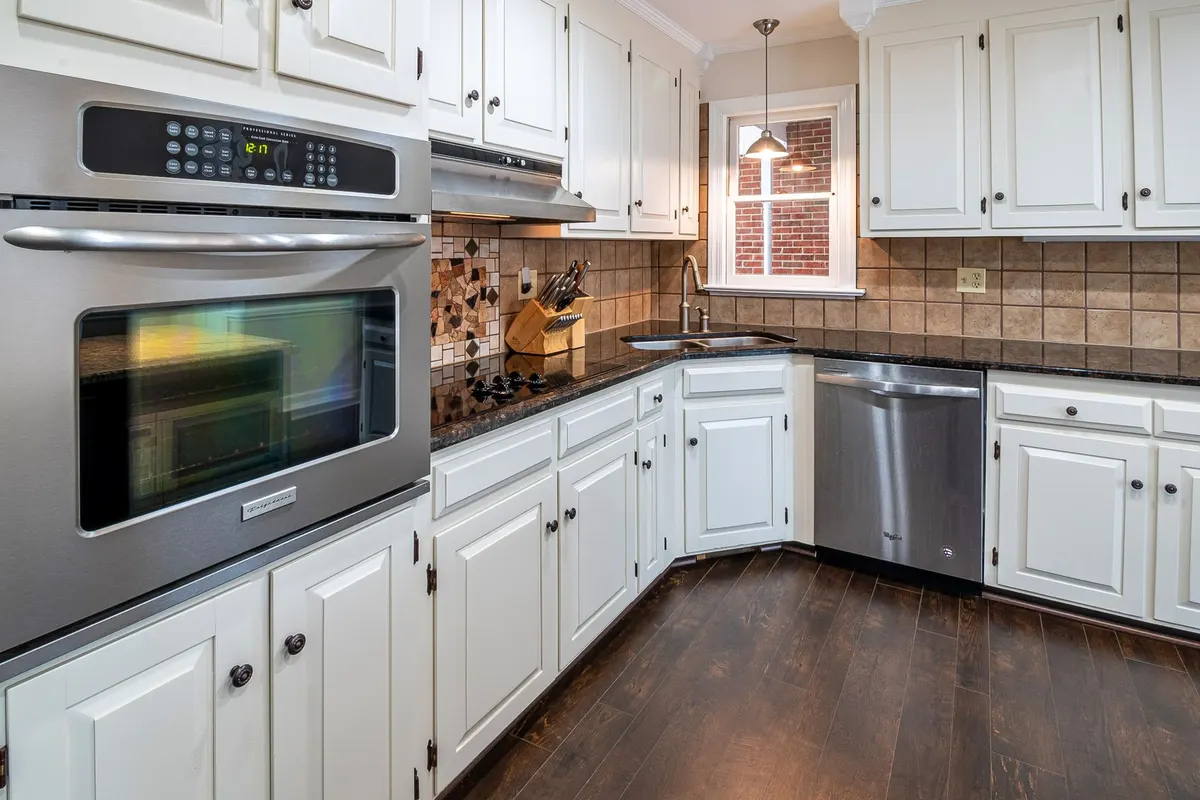
Open a cabinet door and look at the hinge. Common types are full overlay (door covers the frame), half-overlay (doors meet at a stile), and inset (door sits flush inside the frame). Measure the overlay or reveal: close the door and measure from the edge of the door to the inside edge of the cabinet face frame. Also note the hinge cup diameter (usually 35mm) and the mounting plate pattern (typically 32mm or 45mm between screws). Order soft-close hinges that match exactly — most standard European-style hinges are interchangeable if the overlay and cup size match.
- 2
Remove the old hinges
Open the door and remove the screws that attach the hinge arm to the mounting plate on the cabinet frame (usually two Phillips screws per hinge). Then remove the screws from the hinge cup on the door. Carefully lift the door off the cabinet. Repeat for each door. Keep old screws separate in case you need them for adjusting over-thickness or for temporary reinstallation.
- 3
Prepare the mounting surfaces
If the new soft-close hinges use the same screw holes as the old ones, skip to the next step. If the screw positions differ, fill the old holes with wood filler and let it dry, then sand smooth with 120-grit and then 220-grit. Clean the cabinet face frame and the door edge with a damp cloth to remove dust and grease. Let dry completely before installing new hinges.
- 4
Install the hinge cup on the door
Insert the hinge cup into the bored hole on the back of the door (most cabinets already have 35mm blind holes). Align the hinge arm so it points toward the hinge side of the door. Secure with the included screws — typically two small pan-head screws. Do not overtighten; snug is enough. Repeat for the second hinge on the same door, ensuring both cup screws are equally tight and the hinge arms are parallel to the door edge.
- 5
Attach the mounting plate to the cabinet frame
Position the mounting plate on the edge of the cabinet face frame where the old hinge was located. Use a pencil to mark the screw holes through the plate. Drill pilot holes with a 5/64-inch drill bit to prevent splitting. Screw the plate flush with the frame edge using the supplied screws (usually #8 x 5/8-inch). Check with a level that the plate is vertical. Repeat for the second hinge location on the same cabinet frame, ensuring both plates are aligned vertically so the door hangs plumb.
- 6
Hang the door and adjust alignment
Hook the hinge arms onto the mounting plates. Most soft-close hinges have a small clip that snaps onto the plate — press the arm firmly until it clicks. Close the door gently and check the gaps. If the door is crooked or rubbing, adjust the hinge screws: the back screw (nearest the cabinet) adjusts the door left/right; the front screw adjusts the door up/down; the screw on the hinge arm adjusts the door depth (in/out). Turn in small increments — 1/8 turn at a time — until the door sits evenly with the frame and adjacent doors.
- 7
Test soft-close function and repeat for all doors
Open the door fully and let it swing shut from about halfway. The hinge should decelerate smoothly in the last few inches and close without slamming. If it closes too fast or too slow, some hinges have a small damper adjuster (usually a tiny screw near the cup) that you can turn with a screwdriver — refer to the hinge instructions. Once one door is perfect, repeat steps 2–6 for every door in the kitchen or bathroom. Expect to spend 15–20 minutes per door on average.
Why Upgrade to Soft-Close Hinges?
If you are tired of cabinet doors slamming in your kitchen or bathroom, replacing standard hinges with soft-close versions is a simple weekend project that improves everyday comfort. Soft-close hinges use a built-in hydraulic piston or spring mechanism to slow the door's motion over the final few inches, letting it close gently and silently. They are available in all common hinge types—full overlay, half-overlay, inset, and frameless—and they fit into existing 35mm cup holes with no door modification needed in most cases.
Beyond the noise reduction, soft-close hinges also protect your cabinet doors and frames from wear. Slamming causes hinge screws to loosen over time, and the repeated impact can crack face frames or chip door edges. The dampened close extends the life of both the hardware and the cabinetry.
Planning Your Hinge Replacement
Before you buy anything, determine your hinge type and overlay measurement. Open a cabinet door and look at the hinge. Full overlay hinges allow the door to cover the entire face frame; half-overlay means two doors share a common stile; inset doors sit flush inside the cabinet opening. The overlay is the distance from the edge of the door to the inside edge of the cabinet face frame when the door is closed. This dimension determines the appropriate hinge arm length. For inset doors, the overlay is zero—the hinge must lift the door clear of the opening.
Measure the existing hinge cup diameter (almost always 35mm) and the screw spacing on the mounting plate. European hinges typically use a 32mm or 45mm pattern. Write down these numbers and take them to the hardware store or check online listings that specify 'cup diameter 35mm, overlay 1/2-inch' or similar. Buying the exact match means you can reuse existing screw holes and avoid drilling new ones.
Quantity: you need one pair (two hinges) per door. Most cabinet doors use two hinges; heavier or taller doors may require three. For a standard kitchen, 12–15 pairs will cover most setups.
Tools You Will Need
A cordless drill with a Phillips bit saves time, but a manual screwdriver works fine. The small drill bits (5/64-inch) are for pilot holes when the mounting plates require fresh screw locations. A level ensures your doors hang straight; a clamp or tape helps hold the door while you mark hinge positions. Having a small container to keep screws organized prevents lost fasteners.
Common Mistakes to Avoid
- Buying the wrong overlay. The most frequent error is purchasing hinges with an overlay that does not match your cabinet gap. Measure twice before ordering.
- Skipping the pilot holes. Driving screws into solid wood or plywood without a pilot hole can split the frame, especially near the edge. Always use a small bit.
- Forcing the hinge onto the plate. If the hinge arm does not click into place, do not force it—you may have the wrong plate orientation or the arm is upside down. Check the alignment.
- Overtightening screws. Stripped or bottomed-out screws will not hold the hinge securely. Stop when the screw head is flush, and do not apply extra torque.
- Adjusting without testing. Adjust all screws for one door in small increments, then close the door and check the gap. It is easier to make multiple small tweaks than to reverse a large change.
Step-by-Step Installation Tips (Review)
The steps above guide you through a typical swap. On older cabinets, old screw holes may not line up perfectly. If that happens, fill them with wood filler and let it dry before drilling new pilot holes. Some soft-close hinges come with plastic or metal templates to help position the mounting plate—use them for accuracy. When hanging the door, attach the hinge cup to the door first, then hook the arm onto the plate. Soft-close hinges often have a locking tab that must be pressed to disengage the arm if you need to remove the door later.
After all doors are hung, test each one several times and make fine adjustments. A properly adjusted door should sit parallel to the cabinet frame with a uniform gap (typically 1/16 to 1/8 inch on each side). The soft-close action should engage during the final 10–20 degrees of swing and bring the door to rest without bounce.
Safety
When working with tools, wear safety glasses to protect against wood chips and screw debris. Use a dust mask if you are sanding wood filler. Drill with care: keep fingers away from the bit and secure the workpiece with a clamp when drilling pilot holes. If you use a power screwdriver, keep the bit straight to avoid cam-out and potential injury. Do not climb or overreach when working on upper cabinets—use a stable step stool or ladder. Keep children and pets clear of the work area. Dispose of old hinges and packaging properly.
Final Thoughts
Upgrading to soft-close hinges is one of the highest-ROI DIY improvements for a kitchen or bathroom. It does not require new doors, new cabinets, or any structural work—only an afternoon and a few dollars per hinge. The result is a more pleasant, quieter home that feels upgraded. If you can turn a screwdriver and measure carefully, you can do it yourself.
Advertisement
Frequently asked questions
- Do I need to buy new cabinet doors to use soft-close hinges?
- No. Soft-close hinges are designed to fit standard 35mm hinge cups and are compatible with most existing cabinet doors. You only need to confirm your hinge type (overlay or inset) and the overlay measurement. In most cases you can just swap the hinges without modifying the doors or frames.
- Can I install soft-close hinges on cabinets without existing hinge holes?
- Yes, but you will need a 35mm Forstner bit and a drill press or steady hand. Measure and mark the cup center precisely: typically 3/8-inch from the door edge for standard overlay. Drill a 35mm hole 1/2-inch deep, being careful not to go through the door face. Use a Forstner bit with a depth stop or tape the bit for control. If the doors are solid wood, take extra care with grain direction.
- What is the cost difference between standard and soft-close hinges?
- Standard European hinges cost about $2–$5 per pair, while soft-close versions start around $5–$8 per pair for budget brands and go up to $15–$25 for premium models. However, the quiet, gentle close is worth the small premium. In total a full kitchen upgrade may run $40–$80 depending on door count and hinge brand.
- My new hinges slam shut. How do I adjust the damping?
- Not all soft-close hinges have adjustable damping. If they do, usually there is a small Allen screw or Phillips screw on the hinge arm near the cup. Turning it clockwise slows the close; counterclockwise speeds it up. Make 1/4-turn adjustments and test each time. If there's no adjuster or the hinge still slams after adjustment, the hinge might be faulty or the door weight may exceed the hinge's capacity.
- Can I install soft-close hinges on frameless cabinets?
- Yes, frameless (European-style) cabinets use the same 35mm cup hinges. The mounting plates attach to the inside of the cabinet side panel instead of a face frame. For frameless, you need to attach the plate to the panel side, not the front edge. The hinge arm is the same, so this guide applies equally to frameless cabinets.
- What if my cabinet door gaps are uneven after installation?
- Use the adjustment screws on the hinge to correct alignment. The screw nearest the cabinet frame moves the door left or right (center the door in the opening). The screw on the hinge arm (closer to the door) adjusts the door's depth (in/out relative to the cabinet face). The screw on the cup adjusts up/down. Work in small increments and check after each turn. If gaps remain inconsistent, your cabinet frame may be out of square — shim the mounting plate with thin cardboard if needed.