How to Build a Plywood Storage Chest with a Hinged Lid
Build a sturdy 48x20x24-inch plywood chest with a hinged lid, full cut list, and step-by-step joinery tips for organized garage or shop storage.
Difficulty
intermediateTime
4–6 hours
Est. cost
$40–$80
Tools you'll need
- Cordless drill driver — our review
- Circular saw or table saw — our review
- Clamps (bar or pipe clamps, at least four)
- Tape measure and square
- Pencil and straightedge
- Countersink / pilot bit set
- Sander (optional but recommended) — our review
Materials
- One 4x8 sheet of 3/4-inch plywood (BC or sanded plywood)
- One pair of 24-inch strap hinges (or continuous piano hinge)
- One box of 1.25-inch wood screws
- One box of 1.5-inch wood screws
- Wood glue
- Magnetic catch or hasp (optional)
- Handle (rope, leather strap, or pull handle)
- 80- and 120-grit sandpaper
Step-by-step
- 1
Cut the plywood panels
From the 4x8 sheet of 3/4-inch plywood, cut the following panels: two sides at 20 inches wide by 24 inches tall (the front and back), two side pieces at 18.5 inches wide by 24 inches tall (since the front/back are 20 inches wide, the internal width is 20 minus two thicknesses of plywood: 20 - 1.5 = 18.5 inches), and one bottom panel at 20 inches wide by 18.5 inches deep. For the lid, cut a panel at 21 inches wide by 19.5 inches deep (to overhang slightly). Use a circular saw with a straightedge guide or a table saw for clean, square cuts. Label each piece with a pencil.
- 2
Assemble the box sides
Lay one side panel (20x24) on a flat surface. Run a bead of wood glue along the bottom edge and the two vertical edges. Then attach the two side pieces (18.5x24) and the other side panel (20x24) to form a box without the bottom. Hold them together with clamps, drill pilot holes 1/8-inch diameter, and drive 1.5-inch screws every 6 inches through the side panels into the edges of the side pieces. Make sure the corners are square by measuring diagonals before the glue sets. Adjust clamps to make diagonals equal.
- 3
Attach the bottom panel
Apply glue along the bottom edges of the box assembly. Insert the bottom panel (20x18.5) into the bottom, resting on the glue. The bottom should be flush with the bottom edges of the sides. Clamp if needed, drill pilot holes, and drive 1.25-inch screws through the sides and side pieces into the edge of the bottom panel, spacing them every 6 inches. This bottom will be recessed slightly if the sides extend past it; optionally, you can set the bottom on top of the side edges for a stronger joint, but recessing looks cleaner.
- 4
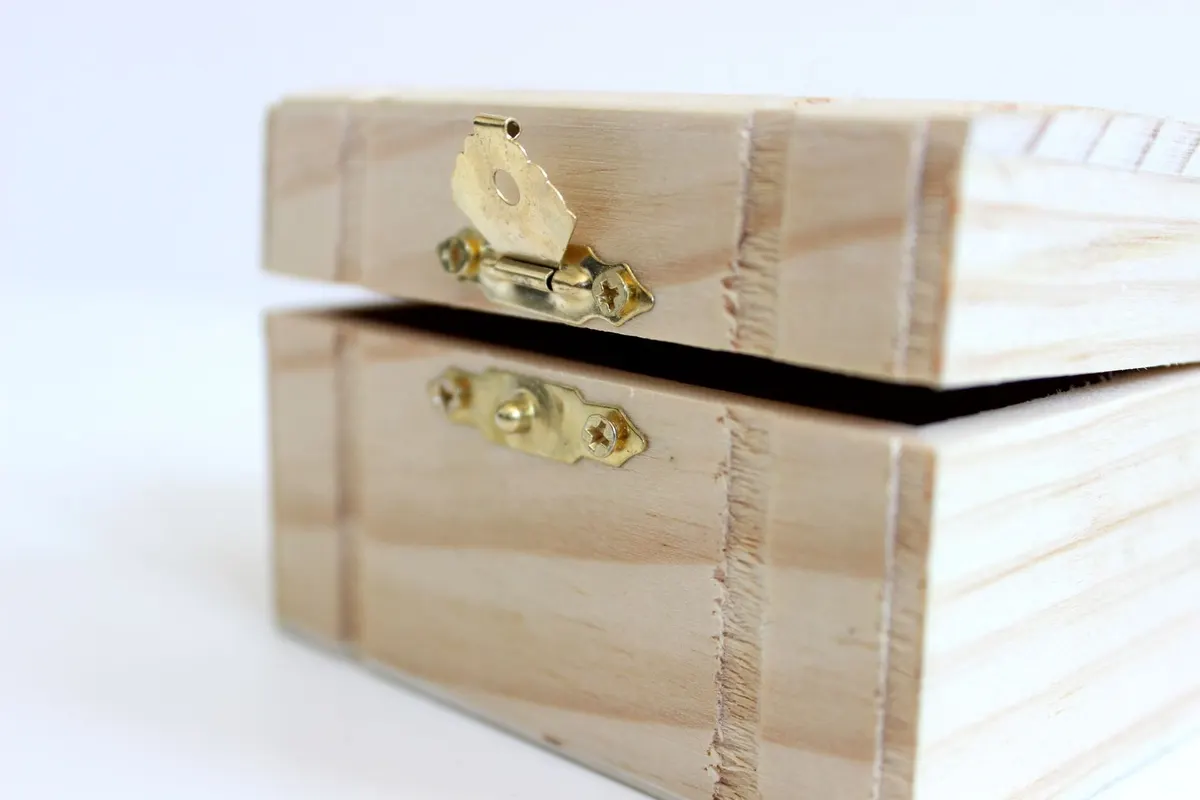
Attach the lid with hinges
Place the lid panel (21x19.5) on top of the box, centered so it overhangs equally on the front and sides (about 0.5 inch on each side and 0.5 inch on the front). Mark the hinge locations on the back edge of the lid and the back panel of the box. Typically two 24-inch strap hinges at 1/3 and 2/3 of the width work well. Position the hinges so the knuckle is at the gap. Drill pilot holes for the hinge screws (usually 1/8 inch for #8 screws). Attach hinges to the lid first, then to the box, using screws provided with hinges or 3/8-inch wood screws. Test the lid opens and closes freely without binding.
- 5
Add the handle
Choose a handle location on the front of the lid or on the front panel below the lid, depending on design. For a lid handle, center it on the front edge of the lid (about 4 inches from the front edge). Use a rope handle or a ready-made pull handle. Drill holes for bolts or screws, and mount securely. If using rope, knot it inside the lid. If using a pull handle, use 1-inch screws to attach it through the lid.
- 6
Add a support stay or closure
To prevent the lid from slamming shut, install a lid stay (gas spring) or a wooden prop. For a simple solution, attach a magnetic catch to the front of the box and a metal plate on the lid to keep it closed. Or install a hasp for a padlock. Position the catch or hasp centrally on the front. Drill pilot holes and attach with 1/2-inch screws. Test operation.
- 7
Sand and finish
Sand all surfaces with 80-grit to remove splinters and round edges, then progress to 120-grit for a smooth finish. Pay special attention to the lid edges and top corners. Dust off thoroughly. Apply a coat of paint, stain, or polyurethane for protection and aesthetics. Let cure for 24 hours before use.
- 8
Final assembly and adjustments
Check that the lid fits snugly and swings freely. If binding, loosen hinge screws slightly and adjust the hinge position. Tighten all screws. Install any additional hardware like a lock or handle. Optionally, line the bottom of the chest with a felt or foam pad to protect stored items. Your storage chest is ready to use.
Why this design
A plywood storage chest is one of the most useful shop projects you can build. This design measures 48 inches wide, 20 inches deep, and 24 inches tall, large enough to store power tools, hardware bins, or seasonal gear, yet compact enough to slide under a workbench or sit against a wall. The chest uses a single sheet of 3/4-inch plywood with minimal waste, and the construction relies on glue and screws — no advanced joinery. The hinged lid grants easy access, and the simple box structure can be customized with dividers, a lock, or even upholstered seating if you choose.
This project is ideal for woodworkers comfortable with a circular saw or table saw and basic assembly techniques. The result is a flat, square, and rugged chest that will protect your tools for years. The design is easily modifiable: change the width, height, or depth to fit your space, or add a plywood frame to the lid for a more furniture-like appearance.
Planning and cut list
The most important planning step is cutting the plywood accurately. Home centers can rip the sheet into the panels you need, but be aware their cuts may not be perfectly square. A table saw or track saw yields the best results. Before cutting, sketch a layout on the 4x8 sheet to minimize waste. The cut list:
| Part | Quantity | Dimensions |
|---|---|---|
| Front and back panels | 2 | 20 in x 24 in |
| Side panels | 2 | 18.5 in x 24 in |
| Bottom panel | 1 | 20 in x 18.5 in |
| Lid panel | 1 | 21 in x 19.5 in |
The lid size assumes a 0.5-inch overhang on three sides (front and both sides) and a 0.5-inch gap at the back for hinge clearance. Adjust the lid dimensions if you prefer a different overhang.
Joinery and assembly tips
Glue every joint before screwing. Apply a thin, even bead on the mating surfaces, and spread it with a brush or your finger. Clamp pieces together and check for square before driving screws. Use a speed square or measure diagonals: if the diagonals are equal, the box is square. Predrill pilot holes with a countersink bit to avoid splitting plywood edges, especially at the side-to-front/back connections. Use 1.5-inch screws for box assembly and 1.25-inch screws for the bottom and lid hinges.
Common mistakes to avoid
One common error is attaching the bottom after the box is fully assembled, which makes it hard to fit. Instead, attach the bottom to the sides before adding the second side panel if possible, or carefully lower it in as described. Another mistake is misaligning the hinges, causing the lid to bind. Mark hinge positions carefully and test-fit before final screwing. Also, avoid over-tightening screws into plywood edges; it can strip the hole or bulge the plywood. Finally, skipping the diagonal check often results in a crooked box that will not sit flat.
Safety
Wear safety glasses and hearing protection when cutting plywood with a circular saw or table saw. Keep hands away from the blade path and use a push stick for narrow pieces. Ensure your saw's blade is sharp and properly set to prevent kickback. When drilling, secure the workpiece with clamps and keep your hands clear. Ventilate the area when using glue and finishes — some emit fumes. If sanding, wear a dust mask to avoid inhaling fine particles. Always unplug tools before changing bits or blades. Use a grounded outlet or extension cord, and inspect cords for damage before each use.
Finishing touches
A coat of paint or polyurethane protects the plywood from moisture and makes it easy to wipe clean. For a more polished look, apply wood filler to screw heads and sand smooth before finishing. You can also add a foam or felt liner inside the bottom to cushion stored items. If the chest will see heavy use, consider reinforcing the corners with metal corner brackets or adding a center support for the bottom. The chest can be built in a weekend and will serve as a durable storage solution for years.
Advertisement
Frequently asked questions
- What plywood thickness is best for a storage chest?
- 3/4-inch plywood is ideal for a sturdy chest that can support weight without sagging. Thinner plywood (1/2-inch) might be used for smaller chests but would require additional bracing. For a heavy-duty chest, consider using 1-inch plywood, but that will increase cost and weight significantly.
- Can I make the chest wider or taller?
- Yes. Adjust dimensions as needed, but maintain the construction method. If you increase width beyond 48 inches, consider adding a center divider or a thicker bottom to prevent flexing. For taller chests, add a middle support rail to the sides to prevent bowing.
- What type of hinges should I use?
- Strap hinges or a continuous piano hinge are best. Strap hinges, about 20-24 inches long, provide even support. Piano hinges run the full width and distribute load evenly, but require precise alignment. Avoid small butt hinges as they can concentrate stress and pull out over time.
- How do I prevent the lid from warping?
- Use a plywood panel with balanced construction (same number of plies on each side). Apply finish evenly to both faces and edges. Consider adding a frame underneath the lid for extra rigidity. Store the chest in a climate-controlled area to minimize moisture changes.
- Can I add casters to make the chest mobile?
- Yes. Attach four heavy-duty locking casters to the bottom panel through the bottom, using bolts and washers. Ensure the casters are rated for the chest's weight plus contents. You may need to add a plywood reinforcement pad inside the bottom for extra strength.