How to Make Custom Picture Frames with Mitered Corners
Build professional-looking picture frames with tight mitered corners using a miter saw, wood glue, and a few finishing tricks.
Difficulty
intermediateTime
2–3 hours (per frame)
Est. cost
$15–$50
Tools you'll need
- Miter saw — our review
- Clamps (corner or band clamps)
- Tape measure or ruler
- Pencil and marking gauge
- Sandpaper (120- and 220-grit)
- Wood glue
- Brad nailer (optional)
Materials
- Hardwood or softwood molding (e.g., poplar, oak, or pine) – 4 lengths cut to size
- Wood glue (Titebond II or III recommended)
- Sandpaper (120- and 220-grit)
- Finish (paint, stain, or polyurethane)
- Picture frame backing board and glass/acrylic (optional)
- Frame hanger hardware (D-rings and wire)
Step-by-step
- 1
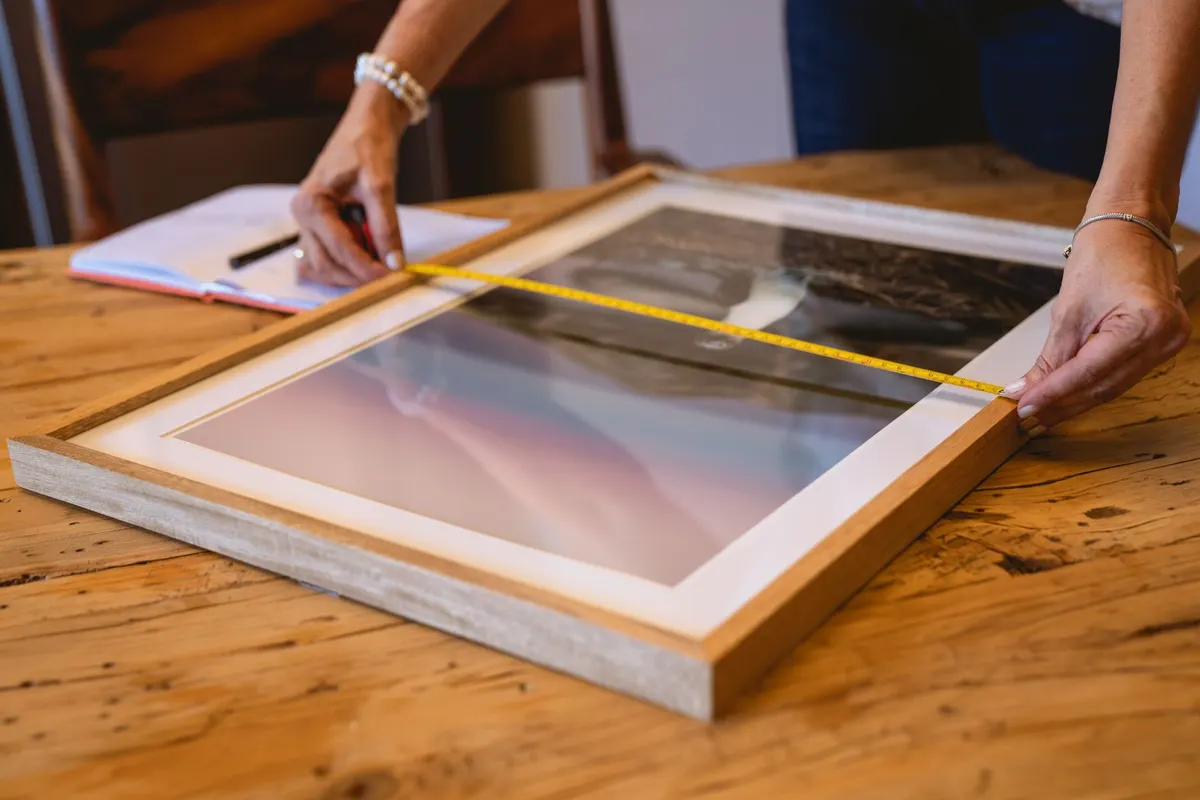
Measure your artwork and calculate frame dimensions
Measure the exact width and height of the artwork or photo you want to frame. Add twice the width of the frame molding to each dimension to get the outside dimensions of the frame. For example, if the artwork is 8x10 inches and the molding is 2 inches wide, the outside dimensions are 12x14 inches. The length of each mitered side is the outside dimension minus the width of the molding. Write down all four lengths: two for the top/bottom and two for the sides.
- 2
Set up the miter saw for accurate 45-degree cuts
Set the miter saw to 45 degrees and make a test cut on scrap molding. Check the cut with a square; adjust the saw if the angle is not perfect. For opposite sides, rotate the bevel to the opposite 45-degree angle. Always cut from the back side of the molding to minimize tear-out, or use a zero-clearance insert on the saw. Measure and mark the actual lengths on the back of each molding piece, accounting for the miter: the long point of the miter should equal the outside dimension.
- 3
Cut all four mitered pieces
Cut each piece to its marked length, making sure to cut the left and right ends at opposite 45-degree angles so the miters close properly. Label each piece with a pencil (e.g., top, bottom, left, right) to avoid mixing them up. Use a stop block or clamp a fence to the saw table for repeatable cuts if making multiple frames. After cutting, dry-fit the four pieces together to check that all corners close tightly with no gaps.
- 4
Apply glue and clamp the corners
Apply a thin, even layer of wood glue to both miter faces of one corner. Press the two mating pieces together and clamp with a corner clamp or band clamp. Repeat for the remaining three corners. Wipe away any excess glue with a damp cloth before it dries. Check that the frame is square by measuring diagonals: equal diagonals indicate squareness. Adjust clamps if needed and let the glue set for at least 30 minutes (or per manufacturer instructions).
- 5
Reinforce the miters with brad nails or splines (optional)
For additional strength, especially on larger frames, reinforce each corner with a brad nail driven through the side into the adjacent piece, or cut a spline slot across the miter and glue in a thin piece of veneer. For brads, drill pilot holes and countersink the nails slightly. Fill nail holes with wood filler. For splines, use a miter saw to cut a kerf across the corner and insert a glue-coated spline, then sand flush after drying.
- 6
Sand the frame smooth
Start with 120-grit sandpaper to smooth any rough edges, glue residue, or uneven joints. Sand with the grain of the wood, not across it. Progress to 220-grit for a finer finish. Pay extra attention to the corners and the inner edges where the artwork will sit. Wipe away dust with a tack cloth or damp rag before finishing.
- 7
Apply finish (paint, stain, or polyurethane)
Apply your chosen finish according to the product instructions. For stain, wipe on evenly and remove excess. For paint, use primer first and then two thin coats, sanding lightly between coats. For a clear coat, use polyurethane or lacquer. Let the finish dry completely before handling. If you want a distressed look, sand edges lightly after the finish dries.
- 8
Install backing, artwork, and hanging hardware
Cut the backing board (foam core, cardboard, or thin plywood) to fit snugly inside the frame. Clean the glass or acrylic and place it in the frame, then the artwork, then the backing. Secure the backing with small brads or framing points. Attach D-rings about one-third down from the top on each side, then string picture-hanging wire between them, leaving a slight sag. The frame is now ready to hang.
Planning your custom picture frame
Making your own picture frame gives you total control over the size, style, and finish. Whether you are framing a family photo, a print, or a mirror, the key to a professional result lies in accurate miter cuts and tight joints. This project walks you through the process from measuring your artwork to hanging the finished frame. Plan for about two to three hours per frame, depending on the complexity of the finish.
Before you start, decide on the molding profile and wood species. For a simple frame, a flat or slightly routed piece of poplar or oak works well. Measure your artwork precisely and determine the outside dimensions of the frame. The frame's inside opening should be slightly smaller than the artwork so the art is held against the backing. Typically, you add twice the molding width to the artwork dimensions to get the outside dimensions. For example, for an 8x10 inch print and 2-inch-wide molding, the outside dimensions are 12x14 inches.
Cutting list example
For an 8x10 inch artwork with 2-inch-wide molding:
- Top/bottom pieces: 12 inches long (outside length) - 2 inches (molding width) = 10 inches each (at the long point of the miter)
- Side pieces: 14 inches - 2 inches = 12 inches each (at the long point of the miter) Note that the actual cut length will include the miter; you cut the long point to the calculated dimension.
Mistakes to avoid
One common mistake is not accounting for the miter angle when measuring. Always measure from the long point of the miter, not the short point. Another error is using a dull or incorrect blade. A fine-tooth crosscut blade (60+ teeth) gives cleaner cuts in hardwood. Avoid forcing the cut; let the saw do the work to prevent burning or chipping.
When gluing, use enough glue but not so much that it squeezes out excessively. Wipe off excess immediately to avoid a messy finish. Also, do not skip the diagonal measurement check before the glue sets. Even a perfectly cut miter can shift during clamping, so clamp and check.
Finishing details
Sand the frame before assembling if you plan to stain it, as sanding inside tight corners after assembly is difficult. For painted frames, primer helps prevent tannin bleed from oak or pine. Apply finish in a dust-free environment. For stain, choose a pre-stain conditioner to ensure even absorption. For paint, use a high-quality brush to minimize brush marks. For polyurethane, apply thin coats and sand lightly between them with 320-grit paper.
Safety
Always wear safety glasses when using power tools. Keep hands away from the blade path on the miter saw. Use a push stick or clamp for small pieces. Ensure the saw is stable and the workpiece is securely held. When sanding, wear a dust mask to avoid inhaling fine particles. If using chemical finishes, work in a well-ventilated area and wear gloves. Unplug or lock out power tools when changing blades or making adjustments. Never wear loose clothing or jewelry that could catch in moving parts. Keep your work area clean and free of tripping hazards. Always read and follow the manufacturer's safety instructions for every tool and product you use.
Expanding your skills
Once you master the basic mitered frame, you can explore more advanced techniques. Mitered frames with splines add strength and a decorative element. You can also make frames with raised panels, multiple layers, or custom profiles using a router table. Another variation is the shadow box frame, which requires deeper molding to hold three-dimensional objects. Custom framing is a skill that grows with practice, and each frame you build improves your ability to cut, assemble, and finish accurately.
Final notes
Custom picture frames make excellent gifts and allow you to preserve memories in exactly the style you want. The investment in a quality miter saw pays dividends when you see the crisp, tight corners of your finished frame. Take your time with measurements and test cuts; patience is the secret to professional-looking results. With the techniques described here, you can create frames that rival custom framing shops at a fraction of the cost.
Advertisement
Frequently asked questions
- What type of wood is best for picture frames?
- Poplar is a great choice for painted frames because it sands smoothly and accepts paint well. Oak and walnut are excellent for stained frames due to their attractive grain. Pine is inexpensive and easy to work with but can be prone to dents and inconsistent grain. For large frames, hardwoods provide better stability.
- How do I prevent gaps in mitered corners?
- Ensure your miter saw is accurately set to 45 degrees by making test cuts on scrap. Use a sharp blade and cut slowly to avoid deflection. Dry-fit before gluing and sand any high spots. Apply glue and clamp firmly; a band clamp that pulls all corners together simultaneously is best. If a small gap remains, you can fill it with wood filler or glue mixed with sawdust.
- Can I make a frame without a miter saw?
- Yes, you can use a miter box and backsaw or a circular saw with a miter guide. A miter saw makes the job faster and more precise, especially for repeat cuts, but hand tools can work if you are patient and check angles carefully. For small frames, a miter box is a budget-friendly alternative.
- How do I measure the glass for a custom frame?
- Measure the inner dimensions of the frame after assembly, subtracting 1/8 inch from both width and height to allow for expansion and fit. Have the glass or acrylic cut at a hardware store or do it yourself with a glass cutter. For acrylic, score and snap it carefully to avoid cracking.
- What is the best way to hang a heavy picture frame?
- Use two D-rings anchored into the frame's side rails, about one-third of the way down from the top. Attach a braided picture wire between them, leaving a slight sag. For very heavy frames, use two wall anchors or locate studs. Use a level to ensure the frame hangs straight, and consider using two hooks for added stability.