How to Level and Secure Curtain Rods on Drywall and Plaster
Learn to install curtain rods on drywall and plaster walls with the right anchors, tools, and techniques for a safe, level result.
Difficulty
intermediateTime
2–3 hours
Est. cost
$30–$80
Tools you'll need
- Cordless drill driver — our review
- Tape measure
- Pencil
- 4-foot level
- Stud finder
- Hammer
- Screwdrivers (Phillips and flathead)
Materials
- Curtain rod and brackets (per window size)
- Curtains or drapes
- Wall anchors (toggle bolts for plaster, ribbed plastic anchors for drywall)
- Screws (provided with anchors or brackets)
- Optional: painter's tape, spackle, putty knife
Step-by-step
- 1
Choose the right anchors for your wall type
Drywall can support light to medium loads with ribbed plastic expansion anchors (e.g., 3/16-inch size). For heavy curtains, use toggle bolts. Plaster is brittle and requires toggle bolts or molly bolts; never use plastic anchors alone. If a stud is available, screw directly into it with a 2-inch wood screw.
- 2
Mark the rod height and bracket positions
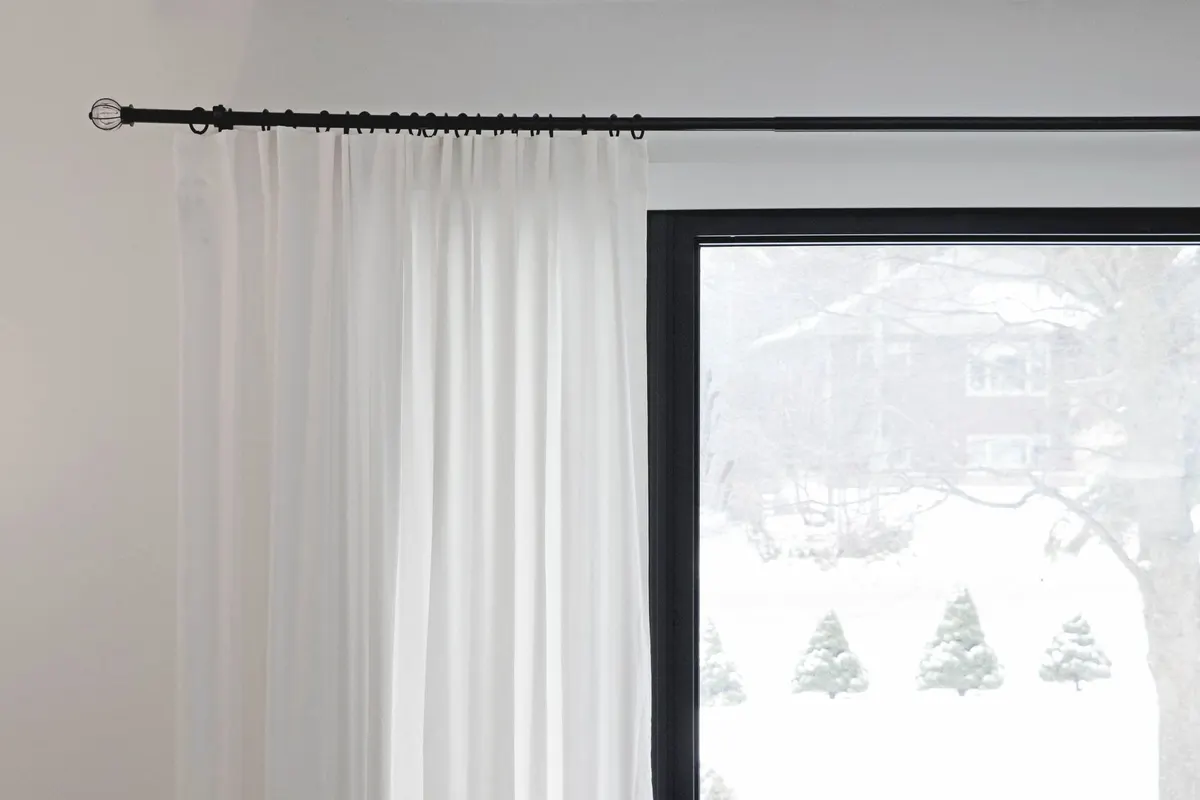
Standard curtain rod height is 4 to 6 inches above the window frame. Use a tape measure to mark the desired height at each end of the window. Then, using a 4-foot level, draw a light pencil line across the wall to ensure brackets are level. Position the brackets 3 to 6 inches beyond the window frame on each side to allow curtains to clear the glass.
- 3
Find studs and mark anchor points
Run a stud finder along the bracket line. If a stud aligns with a bracket location, mark it. Otherwise, plan to use wall anchors. Mark the screw hole locations by holding each bracket against the wall and marking through the bracket slots. Double-check level with the bracket in place.
- 4
Drill pilot holes
Use a drill bit slightly smaller than the screw diameter (or the anchor size). For plastic anchors, drill a hole equal to the anchor diameter. For toggle bolts, drill a hole large enough for the folded toggle to pass through. Drill straight into the wall, being careful not to overspin on plaster to avoid cracking.
- 5
Install wall anchors or screw directly into studs
For plastic anchors, tap them gently into the pilot hole until flush. For toggle bolts, push the toggle through the hole and pull it tight against the back of the wall. If screwing into a stud, drive a screw directly without an anchor. Do not overtighten; the anchor or screw should be snug but not deform the wall.
- 6
Attach the brackets to the wall
Align each bracket with its anchor holes. Insert screws and tighten with a screwdriver or drill on low torque. Use a level to verify brackets are level before fully tightening. For toggle bolts, tighten until the bracket is secure, then stop to avoid collapsing the wings.
- 7
Slide the curtain rod onto the brackets
Insert the curtain rod through the curtain header, then rest the rod on the brackets. Most rods have a decorative finial that screws on the ends; install finials after the rod is in place. Center the rod over the window and adjust the curtain evenly.
- 8
Final check and adjustments
Test that the rod is secure by gently tugging downward. Open and close curtains to ensure smooth operation. If the rod sags, tighten brackets or add a center support bracket for spans over 60 inches. Patch any unused pilot holes with spackle.
Planning your curtain rod installation
Installing curtain rods may seem like a simple task, but doing it on drywall or plaster — especially with heavy drapes — requires careful planning. The key is choosing the right wall anchors and ensuring the rod is level and secure. Start by measuring your window width and deciding on rod placement. For a standard look, mount the rod 4 to 6 inches above the window frame and extend brackets 3 to 6 inches beyond each side. This allows curtains to stack back and not block the glass.
Use a stud finder to locate wood studs; if you can screw directly into a stud, that's the strongest option. If not, you'll need anchors matched to your wall type. For drywall, ribbed plastic expansion anchors (sized 3/16 inch) work for light to medium curtains. For heavier fabrics, use toggle bolts. Plaster walls are more challenging because they are brittle and prone to cracking. Never use simple plastic anchors in plaster — always use toggle bolts or molly bolts. The extra effort is worth avoiding a collapsed rod. When selecting anchors, consider the total weight of your curtains. A set of lightweight sheers may weigh under 2 pounds, while blackout drapes can exceed 10 pounds. Always check the anchor's weight rating and choose accordingly.
Measuring and marking with precision
Accurate measurements prevent crooked installations. Start by measuring the window width from trim edge to trim edge. For a standard curtain rod, add 6 to 12 inches total (3 to 6 inches per side) to determine the rod length. Mark the bracket positions on the wall: first at the desired height above the window (4 to 6 inches), then horizontally using a level. Use a pencil to draw a faint horizontal line across the window. This line is your guide for both brackets. If you have multiple windows in the same room, ensure consistent height across all for a uniform look.
When marking screw holes, use a sharp pencil and press lightly. Hold the bracket against the wall, align it with your level line, and mark through the mounting slots. For brackets with multiple slots, mark all positions. If a stud aligns with a slot, you only need one screw into the stud for that bracket. Otherwise, plan for two anchors per bracket.
Drilling techniques for different wall types
Drilling into drywall is straightforward: use a drill bit sized to match the anchor diameter. For plastic anchors, the bit should be the same diameter as the anchor. For toggle bolts, the bit must be large enough for the folded toggle to pass through — typically 1/2 inch. Drill straight, with steady pressure. Avoid spinning the bit too fast in drywall, as it can enlarge the hole and weaken the grip.
Plaster requires more care. The surface is hard and can crack if you drill aggressively. Start with a small pilot hole (1/8 inch) using a sharp bit, then switch to the final size. Use a carbide-tipped bit for longer life. Drill slowly and gently; let the bit do the work. If the plaster starts to chip, stop and back off. You can apply painter's tape over the area before drilling to help prevent chips. For toggle bolts on plaster, the large hole may be unavoidable, but it will be hidden by the bracket.
Installing anchors and attaching brackets
For plastic expansion anchors in drywall: tap them into the pilot hole gently with a hammer until flush. Do not pound them in crooked. Then drive the screw into the anchor until snug. For toggle bolts: compress the toggle wings, push them through the hole, and pull back gently on the bolt to spring the wings open behind the wall. Hold the wings tight against the back while tightening the screw. Do not overtighten — the wings can deform or the wall can crack.
When screwing into a stud, use a 2-inch wood screw. Pre-drill with a 1/8-inch bit to avoid splitting. Drive the screw until it bites firmly but does not compress the drywall or plaster. The bracket should sit flat against the wall.
After both brackets are attached, place a level across them to confirm they are perfectly horizontal. Make micro-adjustments by loosening and retightening screws if needed. A bubble level is best; digital levels can be overly sensitive for this task.
Hanging the rod and curtains
Slide the curtain panels onto the rod before installing the rod onto the brackets. Most rods have a mounting sleeve or clip system; follow the manufacturer's instructions. Lift the rod into position and rest it in the brackets. Some rods have a set screw that secures the rod to the bracket — tighten these gently. Install the finials by screwing them onto each end.
Center the rod over the window by adjusting the curtain panels evenly. Check that the curtains clear the floor or sill as desired. For floor-length curtains, leave a 1/2-inch gap above the floor. For sill-length, stop 1/2 inch above the sill.
Common mistakes to avoid
The most common mistake is failing to level the brackets. Even a slight tilt is noticeable once the curtains hang. Always use a 4-foot level (or longer) across the bracket line. Another mistake is drilling too aggressively, especially in plaster. Use a sharp drill bit and low speed to avoid chipping. Overtightening screws can also strip the anchor or crack the wall. Tighten just until snug, then stop.
Skipping the stud finder is another pitfall. Assuming you can rely solely on anchors without checking for studs may lead to sagging over time. An even worse mistake is using the wrong anchor for the weight. Check the curtain weight rating against the anchor specification. Finally, failing to support long rods (over 60 inches) with a center bracket will cause sagging. Add a third bracket if needed.
Safety
Before drilling, check for hidden wires and pipes. Use a wire detector or look at the wall for outlet locations to avoid electrical hazards. Wear safety glasses when drilling to protect from debris. Use a sturdy step stool or ladder to reach high installations; never stand on furniture. Ensure the ladder is on a level surface. When tightening anchors, avoid excessive force that could cause injury if a tool slips. Keep work area clear of tripping hazards. If using a power drill, keep the cord clear of the drilling area. For battery-powered tools, remove the battery when changing bits.
Final tips
If you're installing on plaster, consider drilling a small pilot hole first to test the wall's hardness. Use a drill bit with a carbide tip for plaster to extend bit life. For drywall, a standard HSS bit works fine. After installation, check the rod periodically for any loosening and retighten as needed. With proper anchors and level placement, your curtain rod will stay secure for years. For a polished look, caulk the bracket base against the wall to hide gaps and prevent dirt accumulation.
Adjusting for different window types
Bay windows and corner windows require special rod systems. For bay windows, use a flexible rod that bends to the window angle, or install separate rods for each segment. For corner windows, use corner connectors or two rods meeting at a 90-degree angle. The same anchoring principles apply, but ensure brackets are placed at the corners for support.
For sliding glass doors or wide windows, consider a ceiling-mounted track system. These distribute weight across multiple brackets and eliminate the need for wall anchors. However, ceiling mounts require anchoring into joists or using toggle bolts if there is no solid backing.
Maintaining your curtain rod
Over time, brackets can loosen due to temperature changes or curtain weight. Check screws every six months and retighten gently. If a plastic anchor spins free, replace it with a larger anchor or a toggle bolt. Dust the rod and finials regularly to keep them looking new. If the rod sags, add a center support bracket rated for your rod diameter. Most hardware stores sell universal center supports that clamp onto the rod.
Advertisement
Frequently asked questions
- What type of anchor should I use for plaster walls?
- Plaster is hard and brittle, so use toggle bolts or molly bolts. Plastic expansion anchors can crack the plaster or pull out under load. For heavy curtains, toggle bolts are your best bet; for lighter rods, molly bolts work well.
- How high should I mount my curtain rod?
- A standard rule is to mount the rod 4 to 6 inches above the window frame. This gives the illusion of taller windows and lets curtains hang without bunching. For a dramatic look, mount closer to the ceiling.
- How far beyond the window should brackets extend?
- Extend brackets 3 to 6 inches beyond each side of the window frame. This allows curtains to stack back and not cover the glass, maximizing light. For wider curtains, increase the overhang.
- Can I install a curtain rod without a stud finder?
- Yes, but you'll need reliable wall anchors. For drywall, plastic expansion anchors are fine. For plaster, use toggle bolts. However, a stud finder helps you locate a solid wood block for maximum support.