How to Build a Classic Backyard Birdhouse (From One Cedar Board)
Build a simple, weathertight birdhouse from a single cedar 1x6 board in about two hours, with exact dimensions and tips for attracting nesting birds.
Difficulty
beginnerTime
2–3 hours
Est. cost
$15–$25
Tools you'll need
- Jigsaw (or coping saw) — our review
- Cordless drill/driver
- 1-inch spade bit or hole saw
- ⅛-inch drill bit
- Tape measure and pencil
- Sandpaper (80- and 120-grit)
Materials
- One 6-foot cedar 1x6 board (actual dimensions ¾ × 5½ inches)
- Exterior wood glue
- 1¼-inch exterior wood screws (16–20 pieces)
- Two 1½-inch finishing nails (for pivot pin)
- Exterior paint or stain (optional)
- One small hinge (optional for cleaning door)
Step-by-step
- 1
Cut the board to length for each birdhouse part
Cut the cedar 1x6 into these pieces: back: 9½ inches; front: 8 inches; two sides: 8½ inches each (with a 45° roof slope on one long edge); roof: 7½ inches; floor: 4 × 3½ inches. A jigsaw or handsaw works fine. For the sides, mark a point 3½ inches up from the bottom on the back edge and a point 4½ inches up on the leading edge, then connect them with a straight line — this creates the sloped roof line. Cut along that line.
- 2
Drill the entrance hole and mount the perch
On the front piece, measure 5 inches from the bottom and center it left to right. Drill a 1-inch hole using a spade bit or hole saw. For a 1½-inch entrance (better for bluebirds or chickadees), use a 1½-inch bit. Sand the inside of the hole smooth. About 1 inch below the hole, drill a ⅛-inch hole and insert a short dowel or a tight-fitting twig for a perch, gluing it in place. The perch should extend about ¾ inch outward.
- 3
Assemble the sides to the back
Apply wood glue along the back edges of both side pieces. Clamp them to the back piece (the 9½-inch piece), aligning the bottom edges flush. Pre-drill and drive two 1¼-inch screws through the back into each side. Ensure the sloped roof edges are facing up and are aligned.
- 4
Attach the front and the floor
Glue the front piece to the front edges of the sides, flush with the bottom. Pre-drill and screw through the front into the sides. Next, slide the floor piece into the bottom opening: it should fit snugly between the sides and against the back and front. Apply glue to the top edges of the sides and back where the floor meets, then pre-drill and drive screws up through the floor into the sides and back — two per side and one into the back.
- 5
Install the roof
Apply glue to the top edges of the sides and the top of the front. Place the roof piece (7½ inches) so it overhangs evenly: about ½ inch in front and on each side, flush with the back. Pre-drill and drive three screws down through the roof into each side and one into the front. The overhang helps shed rain away from the entrance hole.
- 6
Add a pivot or hinge for cleaning access
For easy annual cleaning, make the roof or one side hinged. The simplest method: drill a ⅛-inch hole through each side near the top, all the way through the roof overhang. Insert a 1½-inch finishing nail into each hole as a pivot pin. Alternatively, attach a small exterior hinge to the roof and one side. Do not glue the roof in place if using pins — it must lift off.
- 7
Finish and mount the birdhouse
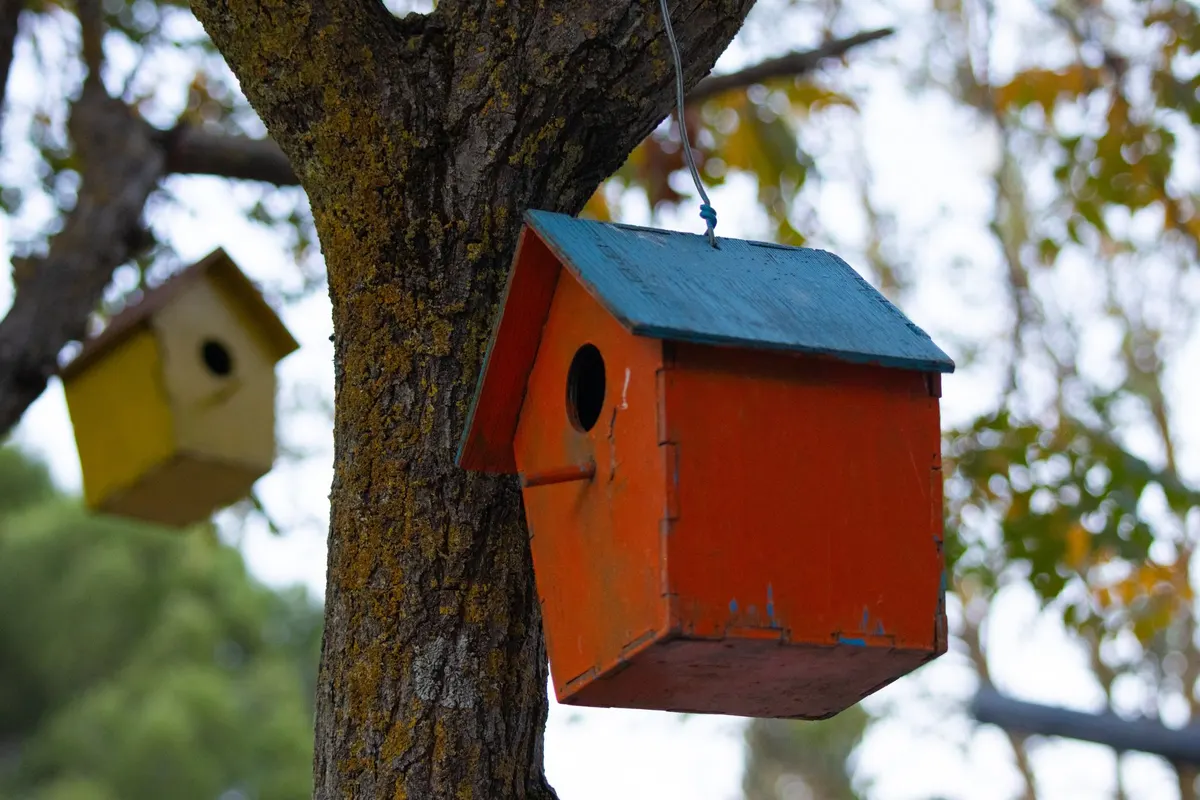
Sand all edges and corners smooth with 120-grit paper. Apply an exterior paint or stain if desired (avoid painting inside or around the entrance hole). Mount the birdhouse on a post or tree at least 5 feet off the ground, facing away from prevailing winds. Use a screw through the back into the mounting surface, or drill a hole in the back and hang it from a nail.
Why build a classic cedar birdhouse
A backyard birdhouse is one of the most satisfying quick woodworking projects you can do in a single afternoon, and it delivers a payoff that lasts through many seasons — the chance to watch a pair of chickadees, bluebirds, or wrens raise their young steps from your door. This design uses an approach that assumes you have a few basic tools: a jigsaw or coping saw, a drill, a tape measure, and sandpaper. It is built from a single 6-foot cedar 1x6 board, which costs less than twenty dollars at most home centers and yields everything you need except the screws and glue. The dimensions follow the standard recommendations published by bird conservation groups: a 4-inch by 4-inch floor, an 8-inch interior height from floor to ceiling, a sloped roof with generous overhang, and an entrance hole sized to the birds you want to attract.
This birdhouse is designed to be simple but sturdier and longer-lasting than the flimsy, painted plywood houses sold at big-box stores. The cedar body resists rot naturally, the roof overhang protects the entrance from rain, and the pivot-pin construction lets you tilt the roof back to clean out old nests at the end of each season — something many commercial houses do not offer.
Planning your materials and cuts
A standard 1x6 board is actually ¾ inch thick by 5½ inches wide, which establishes the width of every part. The floor, for example, will be 4 inches long (front to back) by 3½ inches wide (the interior width after two side panels sandwich the back and front). You can stick with the dimensions listed above, or adjust them slightly — the critical measurements to preserve are the floor area (no smaller than 4x4 inches for most songbirds), the distance from the floor to the entrance hole (5 to 6 inches), and a roof slope that lets rain run off cleanly.
Do not skip the step of cutting the side pieces with a 45-degree roof line. That slope keeps water from sitting on the roof and leaking through the joint. If you do not own a jigsaw, you can cut the angle with a hand saw. The roof piece itself is a simple rectangle; the slope comes from the cut on the sides.
Cut list
| Part | Quantity | Dimensions (inches) |
|---|---|---|
| Back | 1 | 9½ × 5½ |
| Front | 1 | 8 × 5½ |
| Sides | 2 | 8½ × 5½ (cut at 45° roof angle) |
| Roof | 1 | 7½ × 5½ |
| Floor | 1 | 4 × 3½ |
| Perch dowel | 1 | 3 × ¼ (or use a twig) |
Common mistakes to avoid
The most common error is making the entrance hole too small or too high. A 1-inch hole might be too tiny for bluebirds; it is better suited to chickadees. Measure twice, and drill the hole before assembling the box — it is much easier to clamp the front flat than to drill into a completed house. Another frequent mistake is ignoring ventilation and drainage. It is wise to drill a few ¼-inch holes in the floor for drainage and a couple of ⅛-inch holes near the top of the sides for hot-air escape. Many designs also leave a small gap between the roof and the top of the front to allow airflow, but this is not mandatory as long as you have side vents.
A third mistake is mounting the house without a way to open it for cleaning. After each brood fledges, you must remove old nesting material to discourage parasites. A pivot pin or hinge on the roof or one side is simple to add and makes a huge difference in the birdhouse’s long-term viability. Finally, do not paint the inside of the house or apply finish near the entrance hole; birds do not need the fumes, and the rough cedar interior helps fledglings climb out.
Safety
Wear safety glasses when cutting, drilling, or sanding — cedar dust is fine and can irritate eyes and lungs, so consider a dust mask as well. Keep your hands clear of the jigsaw blade path, and wait for the blade to stop before setting the saw down. When drilling the entrance hole with a spade bit, clamp the front piece firmly to a workbench or piece of scrap wood to prevent the bit from grabbing and spinning the board out of your hands. Use a sharp bit; a dull bit requires more force and can bind. If you are using a power drill for the larger holes, make sure the battery is fully charged so the drill does not stall. Finally, drive screws slowly and with a steady hand; rapid driving can strip the pilot hole or snap the screw. A pilot bit set that matches your screw gauge makes assembly smoother and reduces the chance of splitting the cedar.
Final thoughts
Building a birdhouse is a fantastic first woodworking project, or a quick weekend build for the experienced maker. It uses a tiny amount of material, teaches basic layout and assembly skills, and rewards you with a home you will see used within the first spring. Place the finished box on a smooth metal pole or a wooden post in a sunny, open spot away from dense brush, and you increase the chance of occupancy. The design shown here has been proven over decades by backyard naturalists — it is simple enough that anyone can build it and refined enough that the birds will approve.
Advertisement
Frequently asked questions
- What size should the entrance hole be?
- It depends on the bird species you want to attract. A 1-inch hole suits chickadees and nuthatches; a 1½-inch hole works for bluebirds, house wrens, and titmice. For larger birds like woodpeckers, use a 2-inch hole. The hole size helps exclude larger, more aggressive species.
- Should I use pressure-treated lumber?
- No. The chemicals in pressure-treated wood can be toxic to birds. Use untreated cedar, redwood, or exterior-grade plywood. Cedar is naturally rot-resistant and weathers gracefully without paint.
- How do I clean the birdhouse?
- After each nesting season (late winter is ideal), open the birdhouse via the hinged roof or side. Remove old nesting material, scrape away any debris, and rinse with hot water. Do not use bleach or strong disinfectants; a mild soap solution is fine. Let it dry fully before closing.
- Do birds actually use birdhouses like this?
- Yes, many cavity-nesting birds readily use properly designed houses. Place the house in a quiet, sheltered spot away from feeders and busy areas. Keep it at least 5 feet off the ground and ensure the entrance faces away from prevailing wind and rain.